Step-by-Step Guide to Installing Strip Lighting
Strip lighting is a versatile and energy-efficient solution for commercial spaces, providing high-quality illumination in offices, warehouses, and retail environments. Proper installation is key to ensuring optimal performance, longevity, and safety. This guide walks you through the essential steps to install strip lighting for maximum efficiency and reliability.
Why Choose LED Strip Lighting for Commercial Spaces?
- Energy Efficiency – Uses up to 80 percent less energy than traditional fluorescent lighting.
- Long Lifespan – Lasts up to 50,000 hours, reducing maintenance costs.
- Customizable Options – Available in various lengths, brightness levels, and color temperatures.
- Versatile Application – Ideal for offices, warehouses, retail displays, and task lighting.
Essential Safety Considerations Before Installation
- Ensure the power supply is turned off before handling wiring components.
- Use surge protectors to prevent damage from electrical fluctuations.
- Verify that the selected LED strip is suitable for commercial use, with the correct voltage rating.
- Avoid overloading power circuits by distributing lighting loads appropriately.
Tools and Materials Needed for Installation
- LED strip lights (commercial-grade)
- Power supply or driver
- Mounting brackets or adhesive backing
- Wire cutters and strippers
- Electrical tape
- Screwdrivers
- Voltage tester
- Dimmer switch (optional)
- Heat-resistant connectors for high-output applications
Step 1: Plan the Installation Layout
- Identify the optimal locations for strip lights (ceiling, under shelves, around displays, or along pathways).
- Measure the installation area and ensure you purchase the correct length of LED strips.
- Plan for wire routing to ensure easy access to power sources and connections.
Step 2: Prepare the Installation Surface
- Clean the surface thoroughly to ensure strong adhesive bonding.
- If using brackets, mark spacing points for evenly distributed support.
- Avoid placing strips near heat sources, water exposure, or high-traffic areas unless rated for such conditions.
Step 3: Connect the LED Strip to a Power Supply
- Identify the correct voltage and wattage requirements for your LED strips.
- Connect the strip lights to a compatible power driver or transformer.
- If extending multiple strips, use heat-resistant connectors to prevent circuit overload.
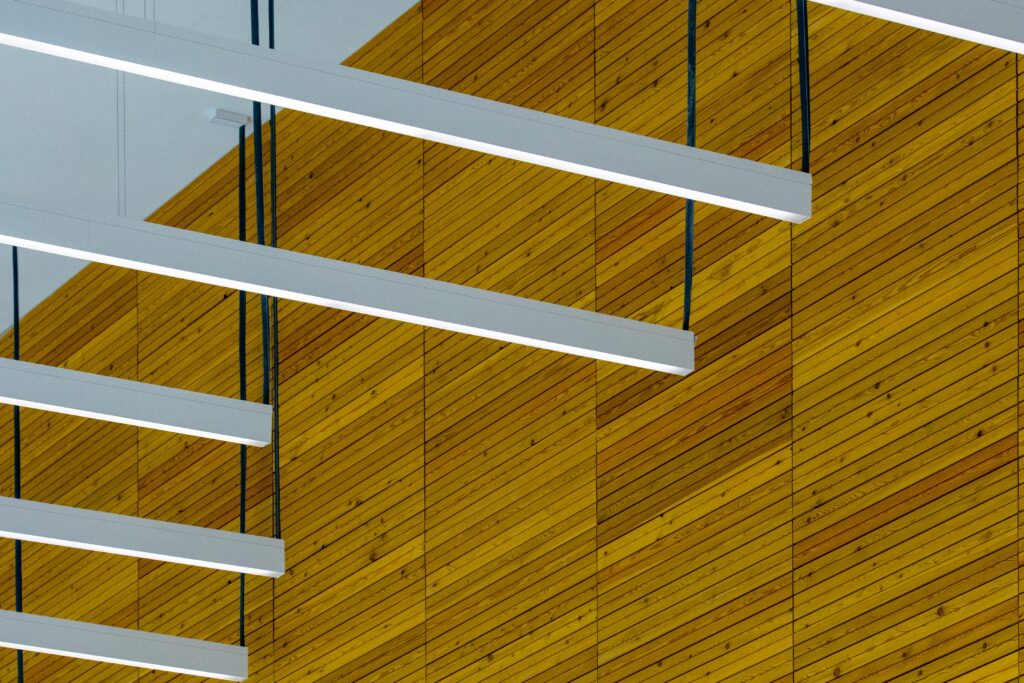
Step 4: Secure the Strip Lights in Place
- Use mounting clips, brackets, or adhesive backing to secure strips.
- Ensure all strips are aligned properly for uniform lighting.
- Test the positioning before finalizing placement to ensure an even distribution of light.
Step 5: Perform a Safety Test and Adjust the Lighting
- Power on the lights to check for brightness consistency and operational stability.
- If flickering or dimming occurs, inspect wiring connections and voltage compatibility.
- Adjust positioning if needed to eliminate glare or shadowing.
- If using dimmable strips, install a dimmer switch for brightness control and energy savings.
Troubleshooting Common Issues
- Lights not turning on – Check power connections and confirm the correct polarity.
- Uneven brightness – Ensure proper voltage distribution and that all strips receive equal power.
- Adhesive not holding – Consider using mounting brackets for a stronger hold.
- Overheating strips – Ensure ventilation around strips and use appropriate heat-resistant components.
Additional Tips for Commercial Strip Lighting
- Select the Right Color Temperature – Use 4000K to 5000K for offices, 3000K for retail displays.
- Install Motion Sensors – Improve energy efficiency by activating lights only when needed.
- Integrate with Smart Controls – Automate lighting schedules and remote adjustments for efficiency.
- Use Waterproof LED Strips – If installing in damp areas, choose IP65 or higher-rated strips for protection.
Conclusion
A well-installed commercial strip lighting system enhances efficiency, safety, and aesthetics in any workspace. Whether upgrading office lighting, illuminating a warehouse, or enhancing a retail display, following these steps ensures a durable, well-functioning, and cost-effective setup. By selecting high-quality components and following proper safety protocols, businesses can maximize both illumination quality and energy savings for years to come.