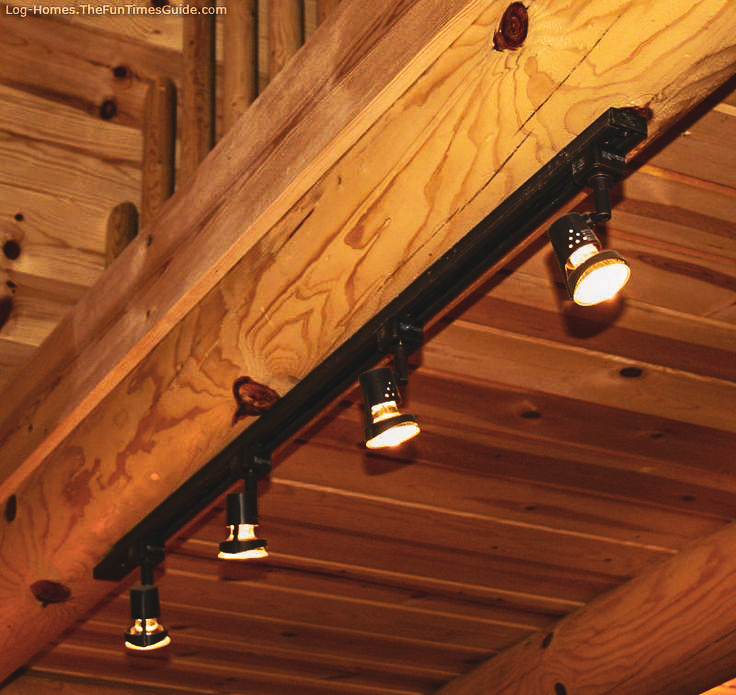
How to Install Track Lighting for High Ceilings
Introduction
Track lighting is a versatile and stylish solution for illuminating spaces with high ceilings, providing both functionality and design flexibility. However, installing track lighting in high-ceilinged areas presents unique challenges, including proper fixture placement, wiring considerations, and light distribution. This guide provides a step-by-step approach to installing track lighting for high ceilings, ensuring optimal performance and compliance with electrical standards.
Key Considerations for High-Ceiling Track Lighting
Before installation, it’s essential to evaluate the following factors to ensure the best lighting outcome:
- Ceiling Height: Higher ceilings require fixtures with increased lumen output to provide adequate illumination.
- Track System Type: Choose between H, J, and L track systems based on compatibility with existing wiring and fixtures.
- Fixture Positioning: Consider the beam angle and adjustability of fixtures to avoid glare and shadows.
- Dimmability: Installing dimmable track lights offers better control over ambiance and energy efficiency.
- Safety Regulations: Adhere to National Electrical Code (NEC) guidelines and verify UL-listed components for safety compliance.
Step-by-Step Installation Guide
Step 1: Gather Materials and Tools
Before beginning the installation, gather the necessary materials:
- Track lighting kit (track, connectors, and fixtures)
- Voltage-rated wire connectors
- Electrical junction box
- Ladder or scaffolding
- Drill and screws
- Voltage tester
- Wire stripper and pliers
- Dimmer switch (if applicable)
Step 2: Plan Track Layout
- Measure and mark the ceiling where the track will be installed.
- Choose between straight, L-shaped, or custom-configured tracks to fit the space.
- Ensure the track is positioned to distribute light evenly across the area.
Step 3: Turn Off Power and Prep the Junction Box
- Switch off power at the circuit breaker to prevent electrical hazards.
- Use a voltage tester to confirm the power is off.
- If a junction box is not available, install one at the desired location for wiring connections.
Step 4: Mount the Track to the Ceiling
- Align the track with the pre-marked positions and secure it with screws.
- If mounting on concrete or high ceilings, use appropriate anchors for added stability.
- Connect track sections using compatible connectors if installing multiple tracks.
Step 5: Wire the Track System
- Strip the insulation from the electrical wires.
- Connect the neutral (white), hot (black), and ground (green or bare) wires to the corresponding track system wiring.
- Secure the connections with wire connectors and neatly tuck them into the junction box.
Step 6: Attach and Position Fixtures
- Insert track heads into the track by twisting them into place.
- Adjust the angle and direction of each fixture for optimal lighting distribution.
- If using pendant-style track lights, ensure they are securely fastened with suspension cables for stability.
Step 7: Restore Power and Test the System
- Turn the circuit breaker back on and test the track lights.
- Check for flickering or uneven illumination and make adjustments if necessary.
- If using a dimmer switch, verify that it functions correctly with the track lighting system.
Common Mistakes to Avoid
- Overlooking Voltage Requirements: Ensure the track lighting system matches the building’s electrical supply (e.g., 120V or 277V for commercial spaces).
- Improper Mounting: Failing to secure tracks properly can lead to instability, especially on high ceilings.
- Incorrect Bulb Selection: Use high-lumen LED bulbs with a wide beam spread for better coverage.
- Ignoring NEC Codes: Always follow safety regulations, especially when working with high-ceiling wiring and mounting procedures.
Future Trends in High-Ceiling Track Lighting
As lighting technology evolves, track lighting for high ceilings is seeing advancements such as:
- Smart Track Lighting: IoT-enabled track lights that adjust brightness and color temperature based on occupancy.
- Energy-Efficient LED Options: Newer LED track lights provide higher lumens per watt, reducing energy consumption.
- Automated Lighting Controls: Integration with building automation systems (BAS) for seamless light management.
Conclusion
Installing track lighting on high ceilings requires careful planning, proper fixture selection, and adherence to electrical codes. By following this step-by-step guide, you can achieve a well-lit space that enhances both functionality and aesthetics. Whether for residential, commercial, or industrial use, track lighting remains an excellent solution for illuminating high-ceilinged areas effectively.


